


I've been searching the web a lot lately, and have run across a lot of creative mom blogs. It's really stirred this desire in me to become more creative myself.
You should all know by now that I adore baby head bands. I've made some of my own, but they were only simple bows, or silk flowers hot glued to an alligator clip.
I decided to try something a little bit different tonight by making a fabric flower. I found this picture while googling fabric flowers:
{Photo source: erinbasset.com}
I learned how to make them, and want to help you learn how too!
Items you will need:
- A piece of fabric, any color of your choice. (I used an old pillow case)
- Scissors
- Needle and thread
- Beads (optional)
- Fabric Glue (Fabri-Tac is a good option)
- An elastic headband (homemade, or store bought)
First you'll need to cut, or rip for a more artistic edge, a strip of fabric about 1'' wide, and about 22'' long. You can make the strip longer for bigger flowers.

Next, tie a knot at one end of the fabric.

Dab a small dot of fabric glue to the knot, you don't need much.
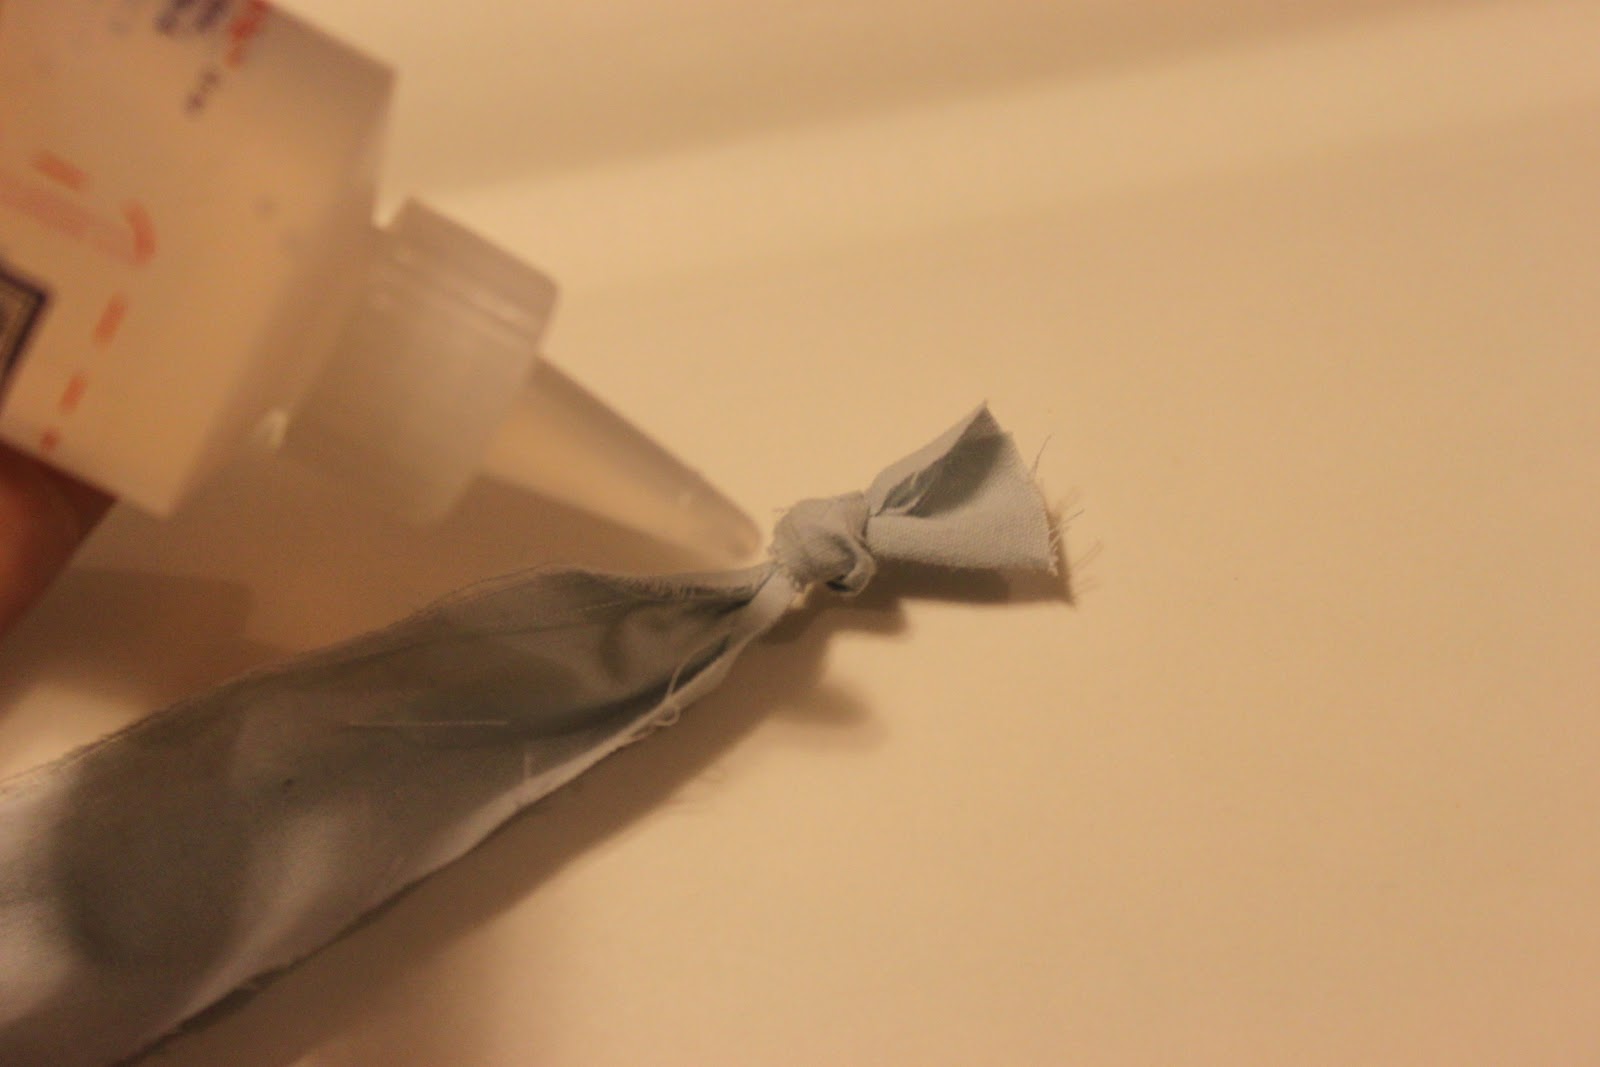
Now, wrap the fabric around the knot in circles putting fabric glue every 1/2 or 1/4 turn, until you make a complete circle. Leave a small amount of fabric unwrapped at the end, and glue it to the back of the flower circle to secure the wrap. It should look like this when you are done:

The next step is optional: Use any beads or buttons of your choice to place in the middle by sewing them to the flower with a needle and thread. You don't have to be a sewing genius to do this, I simply pulled the thread through the middle of each bead (I used 3 of the beads you see in the photo) and pulled it back through the other side, and tied a knot in the back when I finished.

For my headband, I used stretchy yarn and made a braid using two strips of yarn for each braid to make it a little thicker. The great thing about making your own headband is that you can customize it to the exact size you need. Then you can simply glue the flower to your headband, using a hot glue gun.

I realize that I don't have a picture for every step, but give me a break people, it's my first tutorial! I hope you enjoyed this as much as I did. In the next few days, I'm going to play around with a few designs to make a bigger one, and I will post that one as well (with all the necessary pictures this time).
Enjoy your new headband!


I know I'm done having babies when I can see this, realize I really would have liked to have had another girl and done all sorts of cute girl stuff, and move on without batting a lash. That's a GOOD feeling!
ReplyDeleteThe bows are very cute by the way!
That is good! I knew at first, you were sad to be done having kids, but I'm glad to know you are happy with your decision to have three.
ReplyDeleteAnd, thank you! They look so cute on Kynlee, I will try to post a picture =)